
Zapier Screenshots: How To Take Screenshots With Zapier Using the GetScreenshot Action
In this post, we explain how to take screenshots with Zapier by enabling the GetScreenshot integration. This is a small introduction guide. For a more comprehensive guide check out our Automated Website Screenshots guide.

Zapier is an incredible service that allows automating a big range of tasks in reactive ways. By using the right Zaps, it's possible to automate boring or repetitive tasks and save time for your business.
However, one missing service/layer is the ability to take screenshots of websites on-demand or reacting to other events. This functionality can be a compelling automation workflow that can allow you to keep track of different things like Search Engine Result Positions (SERPs), your website, competitors' websites, status pages, and many more. But that's just some ideas. With something like this, you could automate any workflow that requires you to look at a website daily.
Because we believe this can help people to automate many annoying things, we decided to create a Zapier integration that takes website screenshots. Simply put, this is the missing Zapier Screenshot Action.
The integration is very straightforward, you need to pass the URL of a website and some optional parameters into the Zapier screenshot action, and then we will take the screenshot of that website. After taking the screenshot, is up to you to decide what to do with it. If you want the screenshot emailed to you can pass an email address, and we will send you the image to the provided email address. If you're going to do something else with another Zapier action, we can pass the screenshot URL to other selected or configured Zapier actions.
GetScreenshot with Zapier Support is only $10 a month, and you can take up to 6000 screenshots a month. Alternatively, you can opt for the Basic $5 plan and use GetScreenshot with Zapier's Webhook functionality.
To configure your GetScreenshot Zapier Screenshot Action, you need to follow these steps:
- Create a GetScreenshot account here: https://getscreenshotapi.com
- Select the Hamilton Plan.
- You will receive an API Key in your email address.
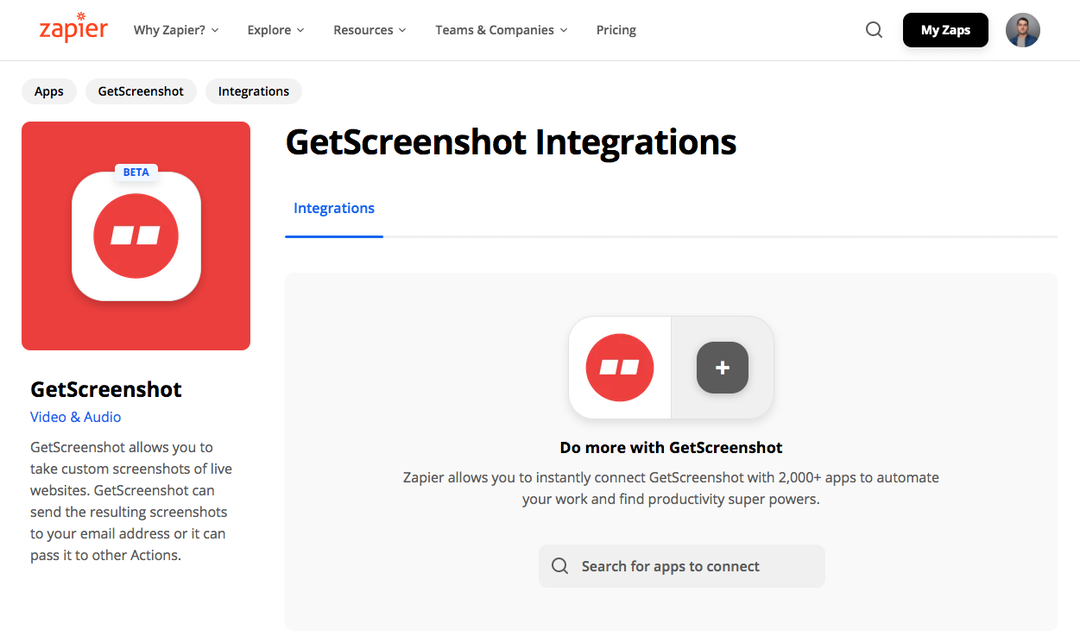
- Activate our Zapier integration here: https://zapier.com/apps/getscreenshot/integrations
- Once it's active, configure the action by providing the API key that was mailed to you.
- You're ready to start adding screenshots to your automation workflows 😃
If you have any other questions about how to take screenshots with Zapier, Zapier screenshots workflows ideas or need help setting up the integration, please send us an email to support@rasterwise.com