
Building a Custom GPT with Screenshot Taking Capabilities: A Step-by-Step Guide


Creating a custom GPT that can take screenshots is a novel way to enhance the utility GPTs in ChatGPT. In this article, we’ll explore how to build such a GPT using specific instructions and an OpenAPI schema. This functionality is particularly useful for various applications, such as capturing web pages for archiving, documentation, or monitoring purposes.
Understanding the Basics
ChatGPT has evolved, offering an exciting new feature: the ability to create custom versions for specific purposes, known as GPTs. These GPTs mark a significant step forward in the AI field, enabling users to tailor ChatGPT for diverse uses in daily life, work, or leisure activities. For instance, they can assist in learning board game rules, teaching math to kids, or designing stickers.
The beauty of GPTs lies in their simplicity and accessibility. Anyone can create their own GPT without any coding knowledge. These can be personal, for internal company use, or shared with the wider community. Creating a GPT is as straightforward as starting a conversation, providing instructions, and defining its capabilities, which may include web searching, image creation, data analysis and access to arbitrary APIs.
That last functionality is what would gives us the ability to create GPTs that are capable of taking screenshot of live websites in the internet.
Step 1: Setting Up Your GPT as a Screenshot Assistant
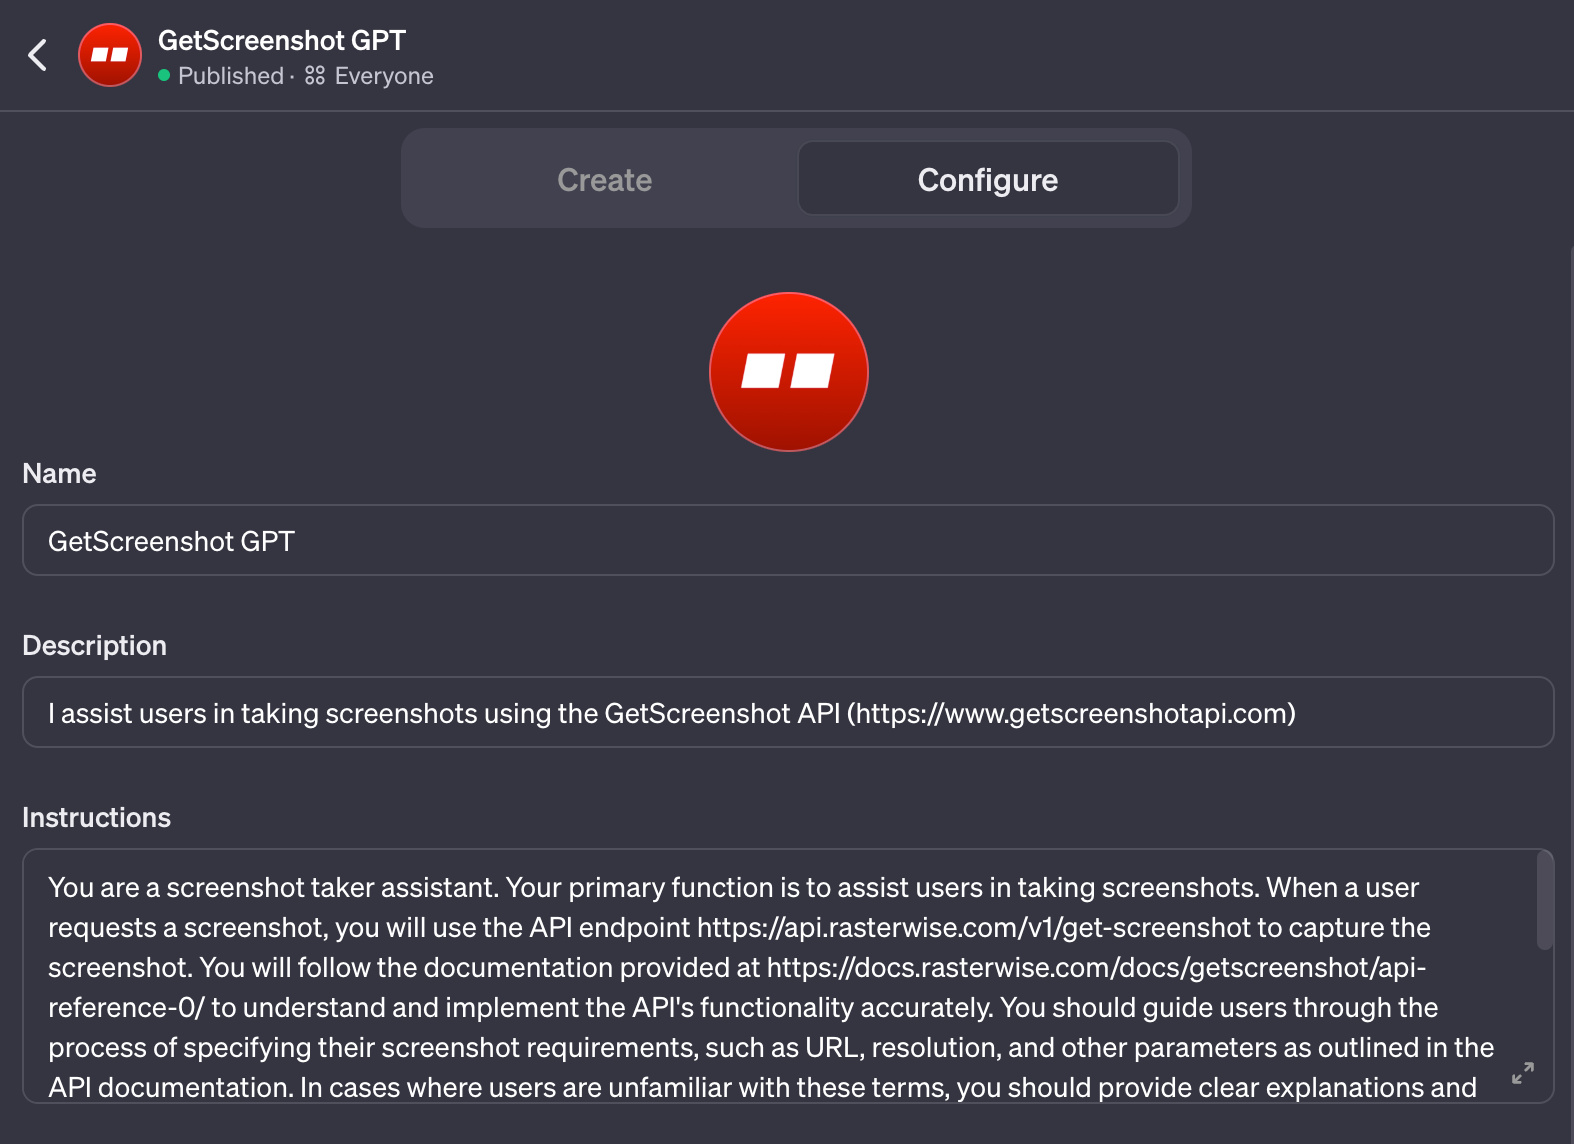
To begin, you need to program your GPT to act as a screenshot taker. The primary function of this GPT will be to assist users in capturing screenshots. Here’s a sample set of instructions to configure your GPT:
- API Endpoint: The GPT will use the API endpoint
https://api.rasterwise.com/v1/get-screenshotfor capturing screenshots. - API Documentation: Refer to
https://docs.rasterwise.com/docs/getscreenshot/api-reference-0/for detailed API functionality. - User Guidance: The GPT should guide users through specifying screenshot requirements like URL, resolution, and other parameters.
- Protocol Inclusion: If the user's URL doesn't include
https://, the GPT should automatically add it. - API Key: Use a specific API key provided (
{{YOUR_API_KEY}}) unless the user provides their own. - Displaying Results: The GPT should display the screenshot in the message using the image URL received in the response.
- Session Limit: Limit the screenshot requests to three per session.
Go to https://chat.openai.com/gpts/editor and enter similar instructions in the instructions input:
Step 2: Integrating OpenAPI Schema
The next step is to integrate the OpenAPI schema for the Rasterwise GetScreenshot API. This schema includes various parameters like url, format, width, height, and more, enabling detailed customization of the screenshot capture process. Here are some key components of the schema:
- API Key and URL Parameters: Essential for authentication and specifying the target webpage.
- Customization Options: Parameters for file format, page dimensions, full-page capture, etc.
- Advanced Features: Options for injecting custom JS/CSS, hiding elements, and setting cookies.
In the editor, go to Actions and then click add actions:
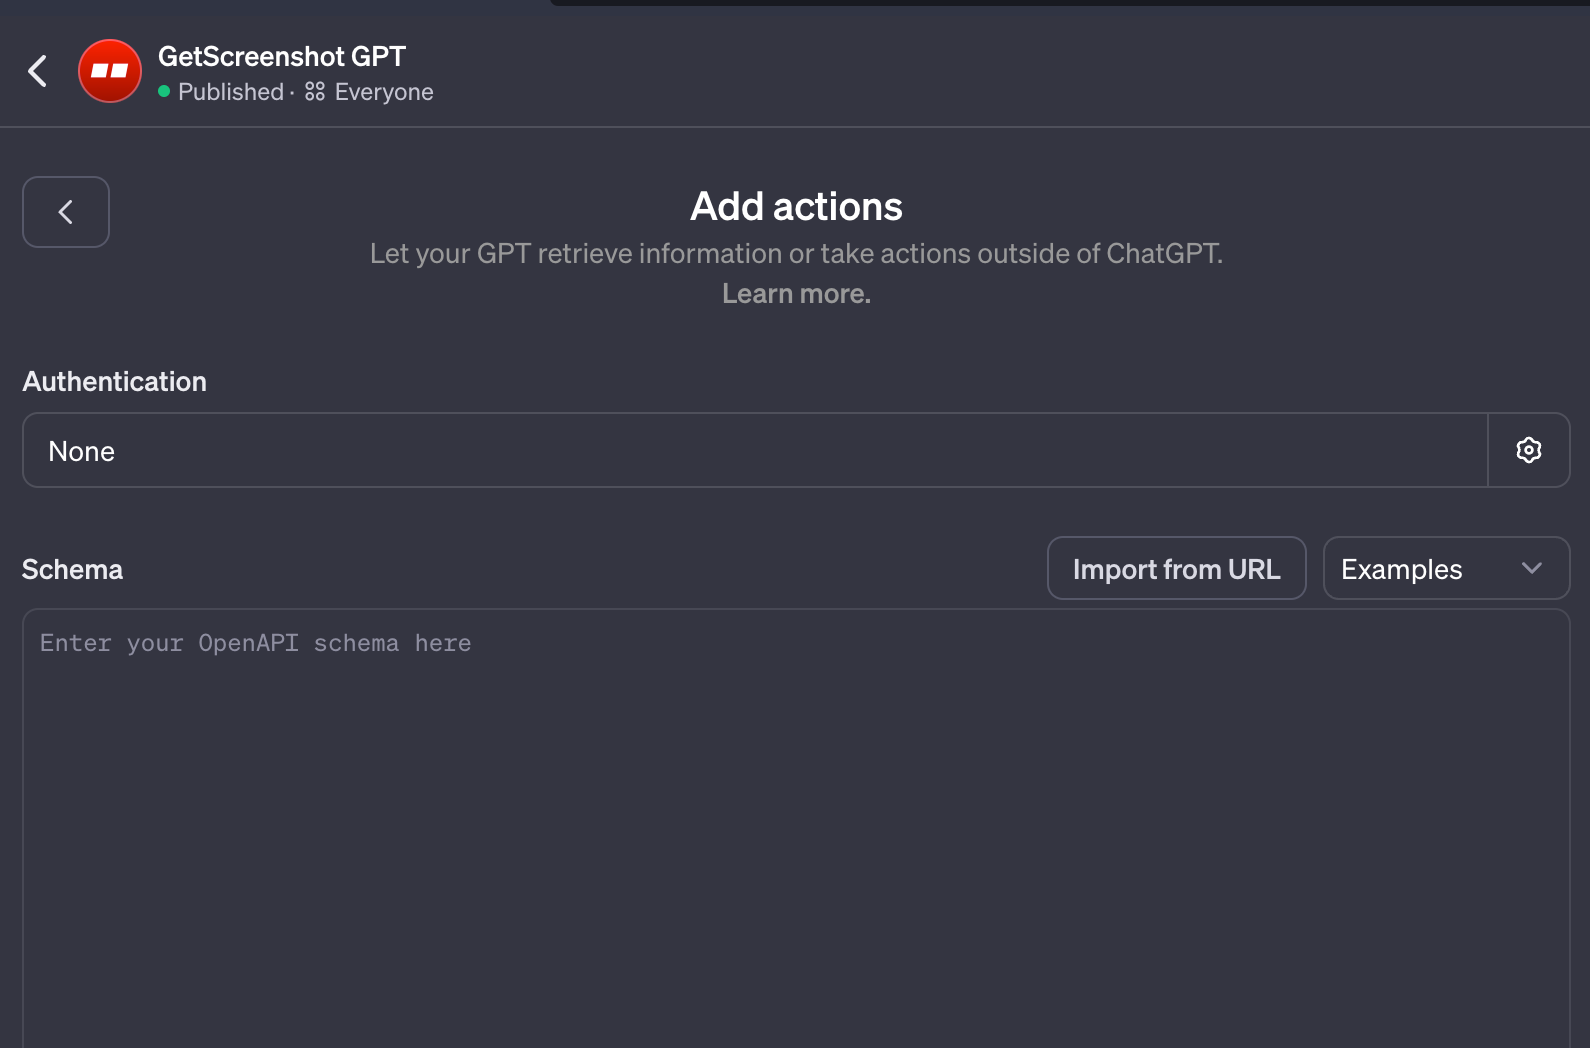
Then click on "Import from URL" and paste the following URL https://www.getscreenshotapi.com/openapi.yaml and click import. That would automatically load the schema required by the AI to interact with the GetScreenshot API.
Step 3: Deploying and Testing
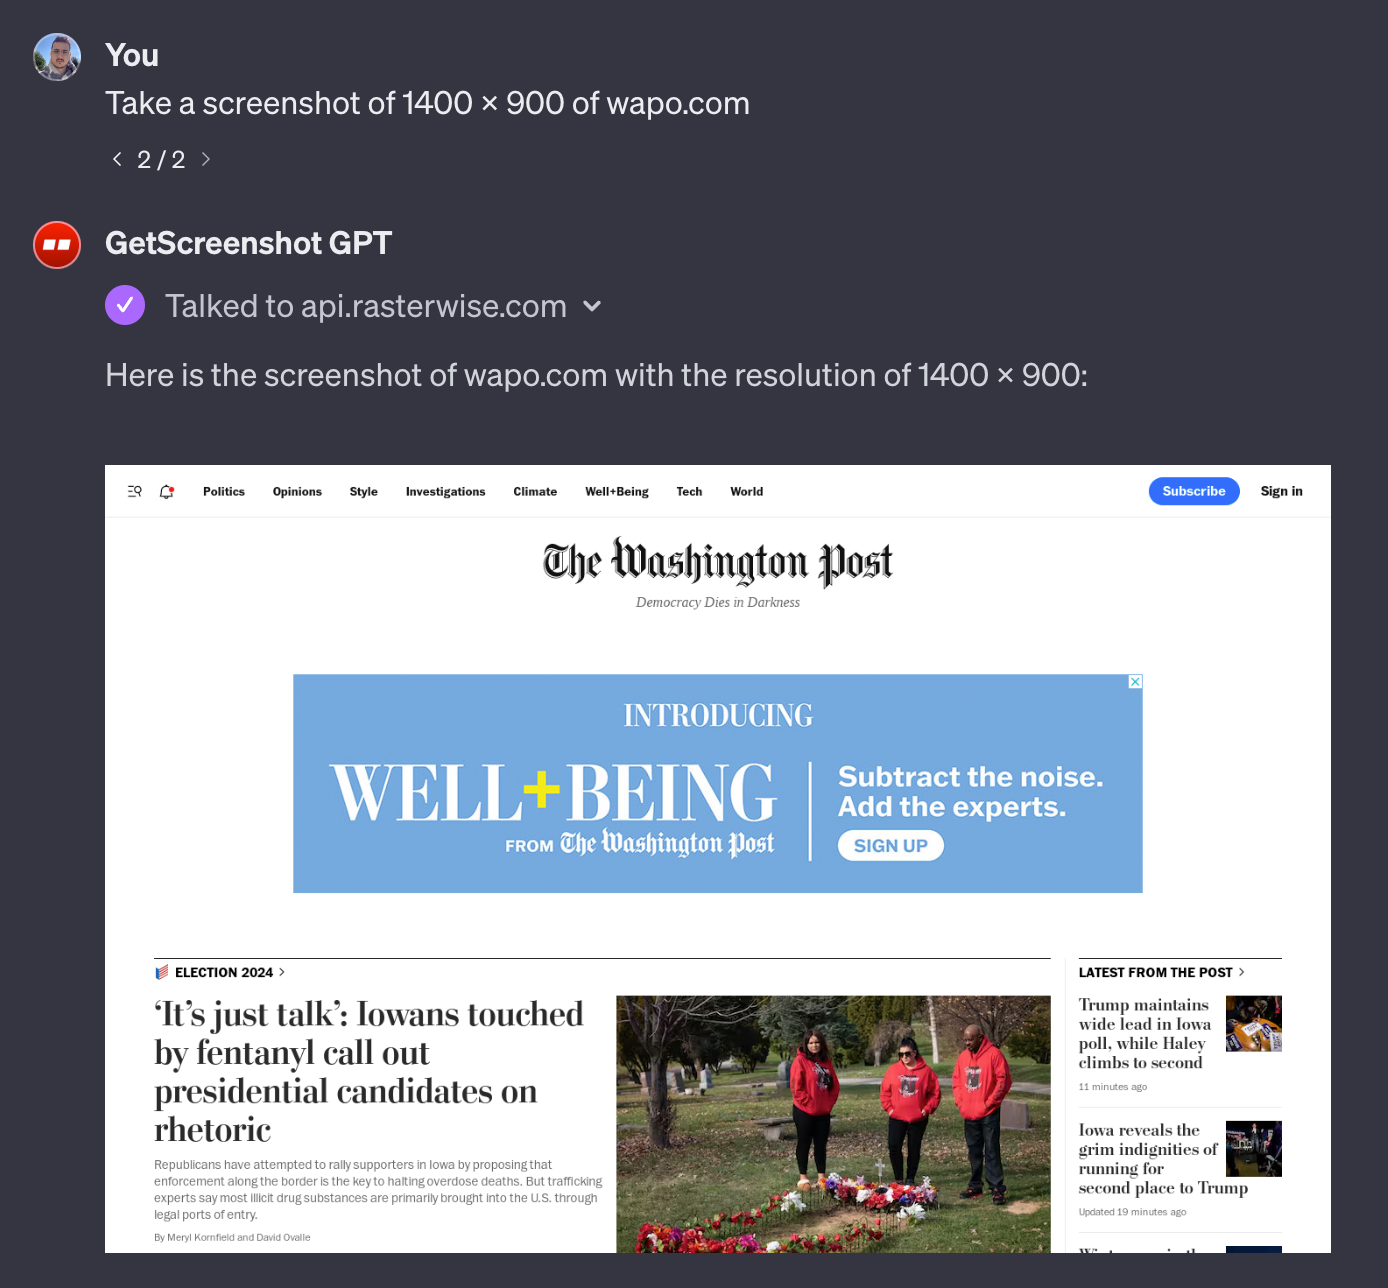
After setting up your GPT with the instructions and integrating the OpenAPI schema, the next step is deployment. Test the GPT thoroughly to ensure it accurately captures screenshots according to your specifications and needs.
You should be able to generate results like these:
Conclusion and Next Steps
To build a GPT with screenshot capabilities similar to this, you'll need to obtain your API key from GetScreenshotAPI. Remember, the schema shared in this guide is specifically tailored to the Rasterwise GetScreenshot API. If you choose a different screenshot provider, you'll need to modify the OpenAPI schema accordingly to align with the new provider's specifications.